Studio 256's 5 Knitting Tips You Wish You'd Known Earlier
Studio 256's 5 Knitting Tips You Wish You'd Known Earlier

Image credit: Freepik
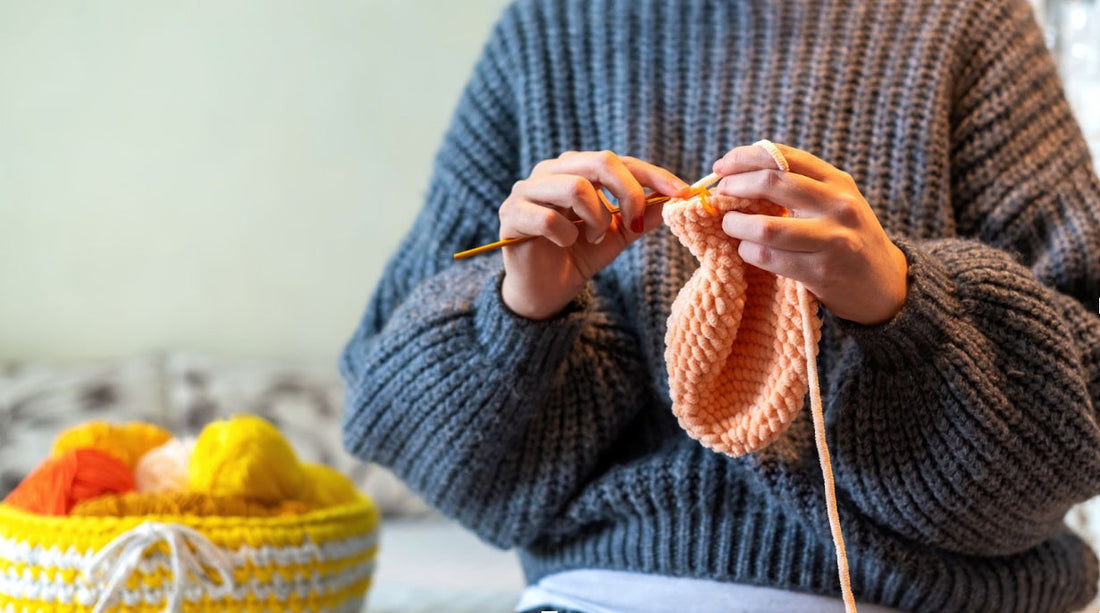
Welcome, fellow fiber enthusiasts, to the cozy corner of the internet brought to you by Studio 256! Here in Wadesboro, North Carolina, we're passionate about all things yarn, needles, and the magic that happens when they come together.
We see knitters of all levels walk through our doors. Through countless conversations and shared projects, we've gathered some wisdom – little nuggets of knowledge andhandy knitting tips that make the knitting process smoother, more enjoyable, and ultimately more successful.
1. The Crochet Hook Lifeline: Your Undoing Undone
Mistakes happen. They’re’s an inevitable part of knitting. Dropping a stitch (or worse, discovering one several rows down) can feel like a catastrophe, especially for a new knitter.
🧶 Studio 256 Tip: Keep a crochet hook (a size similar to your knitting needles, or slightly smaller) in your knitting bag at all times. When you spot a dropped stitch, don't panic! You can use the hook to ladder back up the column of stitches. Simply insert the hook into the dropped loop from front to back, grab the horizontal strand behind the loop (the one belonging to the row above), and pull it through the loop.
Repeat this process, catching the next strand up, until you've brought the stitch back to the current row. Slip it back onto your left needle (usually, depending on where you are in the row) in the correct orientation, and voilà! You've managed to fix mistakes without unraveling.
2. The Zen of Tension: It's All in the Flow
Achieving even tension is the key to smooth, professional-looking knitted fabric. Wobbly stitches, some tight, some loose, can disrupt the look of even simple stockinette stitch and play havoc with gauge. Many knitters struggle with this, especially early on.
🧶 Studio 256 Tip: Tension isn't just about how tightly you wrap the yarn around the needle; it's about the consistent flow of the working yarn from the ball to your needles. Experiment with how you hold your yarn. Do you wrap it around your fingers? Do you pinch it? Are you using English style (throwing) or Continental style (picking)? Find a method that feels comfortable and allows the yarn to glide smoothly.
Crucially, pay attention to your mood! Stress often leads to tighter knitting, while relaxation can loosen it. If you notice your tension changing, take a break, breathe, and consciously return to your comfortable yarn-holding method. Consistency is more important than being overly tight or loose. It just makes sense; a calm knitter often produces calmer fabric.
3. Swatching – The Unskippable Dress Rehearsal (Seriously!)
Oh, the gauge swatch. It's the step most knitters are tempted to skip. You've got that stunning Noro yarn, the perfect pattern, and you just want to start knitting! But skipping the swatch is like building a house without measuring – you might end up with something unusable. Gauge (the number of stitches and rows per inch) dictates the final size of your project.
🧶 Studio 256 Tip: Don't just knit a tiny square. Create a generous gauge swatch (at least 4x4 inches, preferably larger) using the exact yarn, needles (needle sizes matter!), and stitch pattern specified in your project. And here’s the key part: Treat your swatch exactly as you will treat the finished garment. Wash it and block it according to the yarn name and fiber content instructions.
Cotton behaves differently from wool, and superwash merino acts differently from rustic Shetland. Measuring after blocking gives you the true gauge you'll achieve in the finished piece. This step is non-negotiable for garments and ensures that all the time spent creating beautiful stitches results in a perfect fit.
4. Decode Your Knitting Fabric: Learn to Read the Stitches
Understanding the structure of your knitting is fundamental. Knowing what a knit stitch and a purl stitch look like from both the front (right side) and the back (wrong side) allows you to identify mistakes quickly, follow complex patterns more easily, and even fix errors without having to refer back constantly.
🧶 Studio 256 Tip: Look closely. A knit stitch looks like a little "V". A purl stitch resembles a horizontal bump or bar. In stockinette stitch (knit one row, purl one row flat), the right side is all Vs, and the wrong side is all bumps. Learn to recognize these shapes instantly. Furthermore, learn to understand stitch mount (how the stitch sits on the left needle).
The leading leg (the one you'll work into) should generally be at the front of the needle. If it's twisted, your stitches might look slanted or tight. Being able to "read" your fabric transforms you from simply following instructions to truly understanding the structure you're creating.
5. The Invisible Join: Seamless Transitions
Running out of yarn mid-project is inevitable. How you join the new ball can make the difference between a noticeable bump or knot and a seamless transition. While a simple knot might seem easy, it can create weak points and look untidy.
🧶 Studio 256 Tip: Master a truly invisible join technique suitable for your yarn. For non-superwash wools, the "spit splice" (or felted join) works wonders: fray the ends, overlap them, add a tiny bit of moisture (yes, spit works!), and rub vigorously between your palms until they felt together. For other fibers, including cottons and silks (like you might find in lovely Berroco or Lang Yarns blends), the "Russian Join" is fantastic. Thread the yarn end back through its own plies using a tapestry needle, creating a loop.
Do the same with the new yarn end, then interlock the loops before trimming the tails. Practice these methods, as they take a moment longer than a knot but result in a much more professional finish, ensuring you have more yarn added without a trace. Using better yarn deserves a better join!
Bottom Line
We hope these knitting tips (some clever, some fundamental reminders) help you on your creative journey. Learning to knit is a continuous process, and even advanced knitters find joy in discovering new stitches or a new skill. The wonderful community of knitters is built on sharing knowledge and passion.
Here at Studio 256 in Wadesboro, NC, we're always happy to chat about techniques, help you decipher a pattern, or guide you to the perfect yarn for your next masterpiece – whether it's a sturdy Berroco wool, a colorful Circulo cotton, or a dreamy silk blend. We even teach knitting classes and workshops! Don't hesitate to stop by, explore our yarns, and share your own other knitting tips.